Moisture Meters: A piece of a damp puzzle

Last Updated November 9, 2023

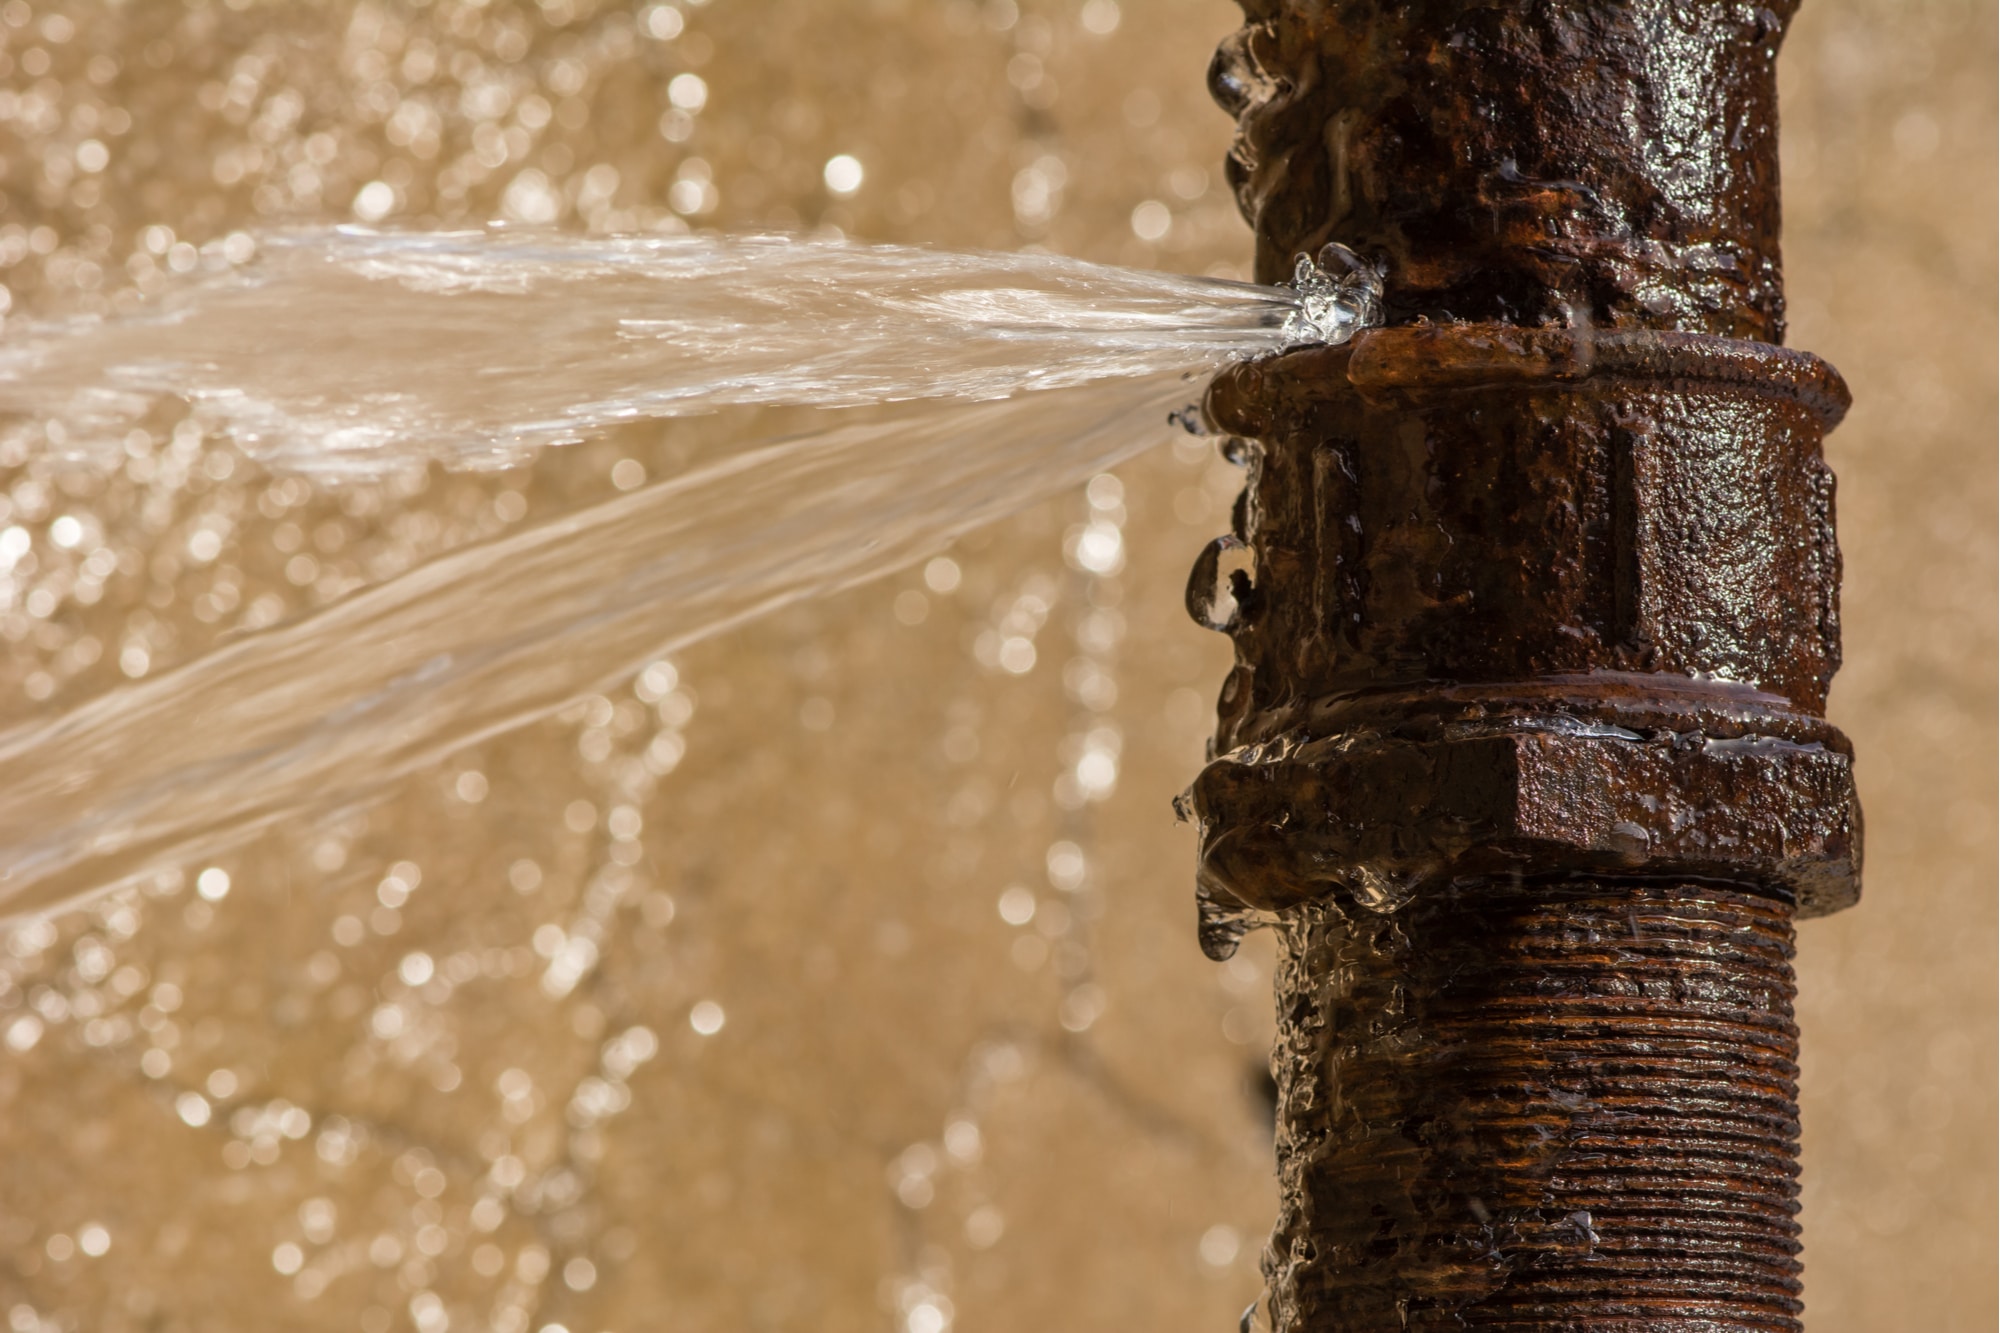
Water is the archnemesis of homes and home inspectors. Able to spread pervasively and rapidly, water can cause a lot of damage quickly to virtually every inch of a property. So, whether your client has a leaky pipe or a flooded crawlspace, it’s in both of your best interests to identify water damage during your inspection.
A moisture meter is one of the many tools that can help. While it’s not a diagnostic device— meaning it alone cannot conclude whether an area is damp or damaged—a moisture meter can help you make a determination when investigating conditions that warrant further evaluation. For example, if your moisture meter displays a high reading, you may want to investigate that area further by looking for signs of discoloration, staining, or swelling. We asked Gabe Hurtado of Impact Home Inspections, Inc. in Florida.
“It’s not practical to take a moisture meter and go through all the walls and surfaces of the house,” Hurtado said. “We use a moisture meter when there’s evidence of water [damage or] intrusion.”
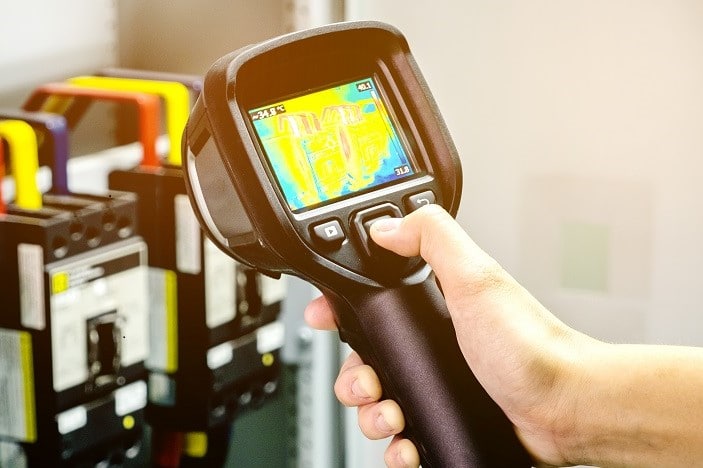
You may also want to consider using additional equipment, like an infrared camera, to augment your ability to spot dampness and its source.
In this article, we explore how moisture meters can enhance your inspection methods and, should you choose to use them, how you should manage your risk against associated claims.
Invasive or non-invasive?
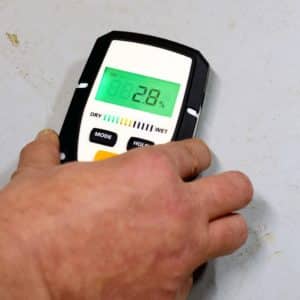
There are two primary types of moisture meters: pinless and pin-type. Pinless meters use electromagnetic sensors to detect moisture by measuring conductivity, or the material’s capacity to transmit electricity. By contrast, pin-type moisture meters insert electrodes (pins) into materials to detect moisture by measuring electrical resistance between the electrodes. In both cases, because water is conductive, higher readings can mean wet or saturated building materials.
Pros and cons
According to Chris Ranwell, Director of Product Management for Amphenol Advanced Sensors, which produces Protimeter moisture meters, there are pros and cons to both meter types. These include:
| Pinless Moisture Meters | Pin-Type Moisture Meters |
| ✔️ Don’t cause surface damage | ❌ Leave shallow holes in surface |
| ✔️ Provide quick readings | ❌ Take more time |
| ❌ Only locate moisture’s presence | ✔️ More accurately report amount of moisture |
| ❌ More subject to false positive readings | ✔️ More precise measurements |
Liability differences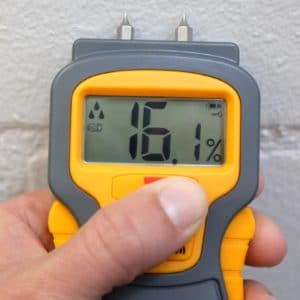
Another important consideration: your liability. The ASHI Standard of Practice (SOP) exists to establish a minimum inspection requirement and decrease liability, according to Tom Lauhon, Chairman of the ASHI Standards Committee —which maintains, updates, and creates new standards for the Association. The SOP states you are only required to “inspect readily accessible, visually observable, installed systems and components” (ASHI SOP 2.2.A.). Since the SOP limits your inspections to non-invasive examination, using a pin-type moisture meter would exceed your SOP.
Lauhon acknowledges that most home inspectors want to—and, perhaps, need to—exceed the SOP. He claims he doesn’t know any inspectors who perform to the minimum standards and remain in business a year. Thus, it’s up to every inspector to weigh the benefits of exceeding each standard against the increased liability.
“You can go as far beyond the standards as you feel comfortable. But, when you do, you accept additional liability,” Lauhon said.
Since invasive and noninvasive meters are better in different situations, some home inspectors opt to have both types in their toolbelt. Regardless of whether you choose one or both types, look for brands and models that are reliable and durable. Not all moisture meters hold up well to daily use. Purchasing a quality meter that is consistent, accurate, and sturdy is worth the investment.
Limit your liability
When it comes to electrical testers, limiting your liability happens in three ways: staying safe, communicating clearly, and insuring equipment. We discuss each in more detail below.
Don’t overpromise.
Like all the tools in your arsenal, moisture meters aren’t perfect. They do not and cannot provide definitive diagnostic results, and so you shouldn’t report your findings as such. Avoid absolutes in your reporting and, instead, opt for words like “may” and “can” to describe what your moisture meter’s reading might indicate.
Furthermore, improve the integrity and reliability of your findings by supplementing your moisture meter readings with additional, supporting facts. For example, note the discoloration of the wall and the difference in surface temperature detected by your thermal imaging camera.
Lastly, your clients may not have an accurate understanding of what moisture and dampness might mean. Explain how excess moisture can affect the home, but don’t make conclusions without substantial evidence. For example, moisture meters cannot detect mold. However, since high moisture can promote mold growth, high readings may indicate the potential for mold. In such cases, it’s appropriate to recommend further evaluation through mold sampling.
Calibrate your meter often.
Are you the type of person who files away user manuals and never looks at them? If you are, you may want to change your habits. According to our claims team, if you fail to monitor, adjust, or maintain your equipment, including your moisture meters, you have liability for claims caused by the tools’ failure. That’s why it’s so important to take care of your equipment.
Most manufacturers specify how to take care of your tools and equipment, such as: telling you when and how often to change parts, clean components, and get calibrated. Take these instructions seriously and you’re less likely to run into failures.
Ranwell says the vast majority of moisture meters can be checked in the field. In fact, he recommends home inspectors calibrate their moisture meters prior to each inspection.
“Check the calibration of your meter before each use,” wrote Ranwell in “Home Inspection Training: Using a Moisture Meter.” “A simple process that only takes a few seconds, a calibration check ensures your meter is ready to take accurate measurements.”
For more information on calibration, read Ranwell’s blog post “Digital Moisture Meter Calibration for Accuracy in Home Inspections.”
Take multiple measurements—including measurements of dry materials.
Ever hear of a “baseline” in statistics? Before collecting and analyzing numbers, statisticians establish a standard number (or baseline) to reference during their comparisons. As a home inspector, you can use the same principle with your moisture meter.
Before testing an area you suspect to be damp, get a reading on an area that’s dry. By using the dry area’s reading as a baseline, you are better equipped to analyze moist areas.
If you do collect a high moisture reading somewhere on the property, don’t stop there. Take multiple measurements of the same area to ensure that it is, in fact, damp.
 Use the same meter every time.
Just as different areas of the property will emit different readings, so can various moisture meters. Different brands have different measurement scales, which can lead to inconsistencies across your reports. What’s more, remembering how one meter behaves in contrast to another can be tricky. Thus, industry experts suggest sticking to one brand of moisture meter.
“One of the best things you can do to conduct inspections efficiently is to use the exact same meters—and this includes any backups or spares,” wrote Ranwell in the training blog post mentioned earlier. “With identical moisture meters, you’ll never waste time figuring out how a moisture meter works because it’s completely different from the one you used last time.”
Furthermore, knowing what your moisture meter can do and how to interpret its findings can prevent claims. Hurtado says inspectors who are new to using a particular meter or meters generally can make mistakes if they aren’t careful. For example, they could attribute high levels of moisture to a concrete wall with a normal level of moisture for such a porous building material. Or an inspector may hit a metal corner bead at the corner of a window and say it’s a leak. You can avoid such errors by using the same moisture meter and educating yourself on that meter’s capabilities.
Be consistent.
Just as you should use the same moisture meter every time, you should use it in the same places and ways every time. At InspectorPro, we have had numerous claims in which an inspector utilized a moisture meter in one area of the property but did not use it in other areas. After the inspection, those other areas developed evidence of water intrusion. In such instances, the claimant argued that, if the inspector had utilized the moisture meter in those other locations, the conditions would have been discovered prior to purchase.
To avoid such claims, you need to develop a standard for how you (and any other inspectors in your business) use moisture meters. Test in the same places, in the same ways, and for the same reasons.
For extra protection, our claims team suggests including a disclosure in your inspection agreements and reports. State that the use of tools like moisture meters is outside of your SOP and, as such, their utilization is at your sole discretion and isn’t a bargained-for component of the inspection.
Carry equipment coverage.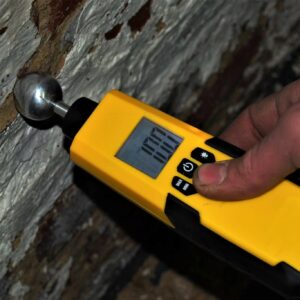
Formally known as inland marine coverage or a commercial property floater, equipment coverage insures your inspection tools and equipment. Unlike standard property insurance, inland marine coverage protects your tools and equipment regardless of their location. This is important in the home inspection industry since, rather than housing your tools and equipment in an office, you usually have your materials in your work vehicle or on inspection sites.
If you own inexpensive moisture meters, you may think it isn’t worth carrying equipment coverage for them. However, for any items worth less than $1,000, our equipment coverage allows you to cover the property as miscellaneous tools. (The total value of all those miscellaneous tools just can’t exceed $3,000.) Adding together all the items in your toolkit and inspection vehicle, you’d be surprised how much equipment you can insure against loss, damage, and theft. What’s more, through InspectorPro with the ASHI Advantage, ASHI members can get up to $20,000 in equipment coverage for just $200 per year.
To learn more about inland marine coverage, read click here. Current clients can request equipment coverage by contacting their InspectorPro brokers. Prospective clients can apply for insurance via our application.
Moisture meters for home inspectors
Interested in offering your clients more information regarding their properties’ potential for moisture intrusion and damage? Consider using a moisture meter to enhance your inspection methods.