The $0 Ending:How Home Inspection Photo Evidence Won a $15,000 Claim

Last Updated August 24, 2026


Quick Summary: A home inspector faced a $15,000 claim after buyers accused him of missing a water-damaged furnace, an exposed live wire, and a carbon monoxide threat. Luckily, his thorough home inspection photo evidence proved all the alleged errors arose only after the inspection, largely due to the buyers ignoring his advice. Denying the inspector’s liability, the case closed for $0, underscoring the value of good photo documentation practices in combatting meritless claims.
The following is a real home inspection claim from our archives. To protect the insured’s identity, all identifiable characteristics from this claim—including names and associations—have been altered or removed.
One inspector. A few photos. One meritless claim, shut down.
More often than not, the right home inspection photos can clear up meritless conflicts just as fast as they begin.
In this case study, we’ll look at a scenario where one inspector’s home inspection photo evidence did exactly that—and saved the day.
The Inspector’s Frivolous Claim
Section Summary: Homeowners accused their inspector of failing to report a water-damaged, nonfunctional furnace and an exposed electrical wire. They also blamed his “negligent” inspection for causing an electric shock and carbon monoxide exposure. They demanded $15,000.
In a formal letter to the inspector, the buyers—we’ll call them Mr. and Mrs. Cliff—expressed “significant concerns about the thoroughness and accuracy of that inspection.” Their biggest issues were:
- A furnace damaged by a leaking air conditioning unit.
- Carbon monoxide exposure.
- An exposed electrical wire, which injured one of the claimants and would require rewiring.
The Water-Damaged Furnace and Air Conditioner
Three months after the inspection, a cold spell prompted the Cliffs to turn on the furnace. When the furnace failed to generate heat, they hired HVAC specialists.
Because the buyers weren’t present for the home inspection, the home inspection report photos were their only window into the property’s condition. So when they held his photo documentation of the furnace against the broken-down unit in front of them, the differences were impossible to miss. The Cliffs’ attorney put it this way:
“The two sets of photos almost look like they are of different units, rather than the same furnace a few weeks apart,” the letter said. “In the inspection photos, the furnace is clean and looks almost new. There is no dirt, no rust, no water stains or pooled water near the base of the furnace. In the photos taken by [the HVAC specialists], there are rust stains, signs of water at the base, and water damage. … The [buyers] had only been in the property a few days, certainly not long enough for this accumulation of water and rust to commence and ruin the furnace.”
The HVAC technician had found water pooling at the base of the furnace. They believed the air conditioning system was leaking water down into the furnace below, damaging it to the point of being unusable. Due to this damage, the Cliffs were advised to replace the furnace.
A $12,000 Demand
The lawyer’s letter went on to accuse the sellers of “cleaning up” the furnace for the inspection. And despite the furnace’s condition shown in the home inspection photo evidence, they also accused the inspector of negligently giving the system a “clean bill of health.”
The inspector had warned that the AC unit was nearing the end of its serviceable life. Nonetheless, the Cliffs demanded compensation for replacing the air conditioning and furnace systems: more than $12,000 in parts and service fees.


HVAC specialist’s photos of AC and furnace (above) vs Inspector’s photos of furnace (below).

The Carbon Monoxide Exposure
Next, the Cliff family wanted compensation for alleged carbon monoxide exposure.
Although the furnace was completely nonfunctional, the Cliffs claimed the furnace was giving them “flu-like symptoms” before they replaced it. They reported experiencing “headaches, nausea, dizziness, and confusion,” which coincided with their attempts to operate the system.
According to their lawyer’s letter, “The symptoms were experienced most strongly by those in rooms with ducts closest to the furnace.”
The Live Exposed Wire
Shortly after moving in, Mr. Cliff touched one of the basement walls and received an electric shock. He moved to the other side of the wall and was shocked again. The shocks knocked him to the ground.
Upon investigating, the Cliffs discovered an exposed, 220-volt live electric wire in the basement. Their attorney’s letter described the exposed wire as an “obvious condition that should have been detected and flagged in the report.” The letter didn’t specify the extent of Mr. Cliff’s injuries, though it did try to elicit sympathy:
“It would have been a tragedy had Mr. Cliff, a decorated combat veteran, survived battle in Iraq to be killed by an exposed wire that was not caught by the home inspection.”
The Cliff Family’s Demands
The Cliffs wanted reparations for the “injuries, damages, losses, inconvenience, and emotional pain and suffering” that resulted from the home’s deficiencies.
Between the $12,000 they paid to replace their air conditioning and furnace systems, their injuries from the shocks and alleged carbon monoxide exposure, and the costs of rewiring the basement, they demanded $15,000.
Total Demand: $15,000
Home Inspection Photo Evidence to the Rescue
Section Summary: The inspector’s report and photos proved the furnace and AC were functional at the time of the inspection, with clear warnings to service, repair, or replace them soon. He wasn’t liable for the CO exposure, since he didn’t perform a carbon monoxide inspection, and his basement photos showed the live wire safely tucked away. His photo documentation clearly demonstrated that the allegations were not from a failure to inspect, but rather a failure to follow the inspector’s advice.
Our claims team quickly got to work assessing the home inspection photo evidence and other inspection documentation, like the inspector’s report and signed agreement. Right away, a few pieces of the Cliffs’ allegation puzzle didn’t quite fit right.
Let’s discuss how our claims team responded to each allegation, and how the report photos played a role in defending this inspection claim.
Response to the Water-Damaged Furnace and Air Conditioner
First, the inspector had tested the air conditioning and furnace systems. Both were functional at the time. The inspector even included photos of the furnace burners lit up and operating, as you can see below.

He warned, however, that the furnace was 16 years old and would need servicing before its next seasonal use. The AC system, too, was only “marginally acceptable”: performing as designed at the time of the inspection but in need of repair or replacement soon due to age and deterioration.

Looking at the report and photos, it was clear the inspector documented the AC and furnace operating as expected at the time of the inspection. He had no way of predicting future conditions, like the AC leaking and damaging the furnace—especially when the Cliffs ignored the inspector’s recommendations to have the AC repaired or replaced.
What about the furnace looking like two “different units, rather than the same furnace a few weeks apart”?
Yes, they looked very different. The stark contrast between the inspector’s and HVAC technician’s photos further confirmed what our claims team already knew: Home inspection photo evidence is an easy way of showing how fast conditions can change.
Without his inspection photos as evidence, our team would’ve had to guess whether he’d truly missed a rusted, water-damaged furnace. Instead, his photographic record proved that the damages must’ve become obvious only after the inspection.
The Cliffs, in turn, only proved that they neglected to follow their inspector’s advice.

Response to the Carbon Monoxide Exposure
Carbon monoxide exposure is serious and can even be deadly. It sends more than 100,000 Americans to the hospital every year, and is especially dangerous for families with heart disease and young children. For this reason, inspectors are seeing increasing demand for tests like carbon monoxide inspections.
In this case, however, the Cliffs did not pay for or request a CO inspection.
Additionally, while a furnace typically cannot produce CO if it isn’t operational, it’s possible for a nonfunctional furnace to leak carbon monoxide from past use. Still, the inspector had no way of detecting active CO without a CO inspection—nor could he have predicted future leaks or found existing ones. Detecting cracks or holes would’ve required dismantling the unit, which his report clearly stated went against his inspection standards.
Plus, if the Cliffs had followed the inspector’s advice and hired an HVAC technician sooner, they might’ve caught a CO leak sooner.
In short, while the Cliff family’s illness was unfortunate, our inspector was not responsible.
Response to the Exposed Live Wire
Lastly, the inspector had taken a photo of the exact basement spot where he allegedly missed the exposed wire during his electrical inspection.
In his photo below, there is a wire. However, it was visibly tucked away close to the wall at the time of the inspection.


The inspector had no reason to move the wire. Therefore, it must’ve been exposed sometime after his inspection. He suspected that the Cliff family discovered and accidentally exposed the wire while moving in or renovating the basement.
Our claims team couldn’t prove that suspicion. But they could prove one thing, thanks to the inspector’s home inspection photo evidence: The inspector was not negligent in reporting the wire because it wasn’t exposed, loose, or visibly dangerous during the inspection.
A Picture-Perfect Resolution
Section Summary: InspectorPro’s claims team sent the Cliff family a letter denying all liability on the inspector’s behalf. The claimants were never heard from again, and the case ended for $0.
Our claims team responded with a denial of liability letter, which provided a point-by-point liability defense.
In it, our team reminded the Cliffs that a residential home inspection is a non-invasive, limited, visual inspection and snapshot in time. Inspectors can’t predict future conditions or life expectancies.
The letter also provided a side-by-side comparison between two sets of furnace photos: the inspector’s and the HVAC technician’s. Quoting the claimants’ demand letter back to them, our claims team said, yes, the furnace looked very different on inspection day, as the original photo documentation showed. But that’s exactly the point. Conditions change, and if clients don’t follow their inspector’s advice, there’s nothing the inspector can do to prevent changes for the worse.
Our claims team also compared photos of the live wire. Per the inspector’s photos, they pointed out where the wire was tightly tucked away, not dangerous or exposed like in the Cliffs’ photos. This is why home inspection photo evidence matters: The Cliff family’s inspector couldn’t warn them about a defect that wasn’t visible or problematic three months earlier.
If the Cliff family were to pursue the claim further, they would have received no more than twice the inspection fee ($365). The case would also go through binding arbitration, as outlined in the inspection agreement’s dispute resolution clause.
Fortunately, the claim stopped there. Between the inspector’s exceptional home inspection photo evidence and the $730 limitation of liability, the Cliffs must’ve realized the case was a lost cause. They received the denial of liability letter and were never heard from again.
The Final Outcome:
Initial Demand: $15,000
Total Settlement: $0
Inspector’s Cost: $0
Status: Case Closed
How can home inspectors use thorough photography to protect their businesses from meritless liability claims?
Section Summary: Learn practical tips for using photos to fight inspection claims, including inspection photo best practices and tips for protecting yourself as a home inspector.
Home inspection claims can take years to resolve. This one was resolved in two months. How?
His home inspection photo evidence did most of the heavy lifting.
As this case study shows, inspection photos are a powerful risk management tool. Because home inspections are visual by nature, photos capture an inspector’s-eye view of everything you saw (and didn’t see) at the time of the inspection. Without good home inspection photo evidence, it’s your word against your client’s.
Approximately 65-80 percent of people identify as primarily visual learners, said Michelle Connolly of Educational Voice. People who only hear important information will remember just 10 percent of that information three days later. Meanwhile, those who receive information visually retain much more of it, and for longer, Connolly wrote. So if you want your inspection findings to actually stick with clients, photos aren’t just nice to have—they’re how most people learn in the first place.
And yet, most home inspectors aren’t taking enough photos, or the right ones.
Here are five ways to level up your photo habits and tackle claims with ease, like this home inspector did.
1. Photograph more than just defects.
Every inspector knows to photograph defects.
Don’t stop there. Only take defect photos, and you could miss easy opportunities to better educate your clients and document evidence for claims.
What types of inspection photos should home inspectors take?
Be like the inspector in this case study and also take photos of:

Non-Defect Areas and Components
This inspector didn’t just say the AC and furnace were functioning. He also included photos, one showing the furnace burners lit up and operating.
This home inspection photo evidence was pivotal in proving the AC was not visibly leaking during the inspection, and both components worked as expected.
Representative Shots
This inspector also took wide-shot photos of entire walls and rooms, particularly of the basement.
He didn’t document any basement issues at the time. But our claims team used those basement photos as objective evidence that the live wire was not yet exposed on inspection day.
Concealed or Inaccessible Spaces
Don’t just disclaim inaccessible or concealed spaces. Take photos of whatever’s obstructing your view or access.
If a client ever accuses you of skipping something out of negligence, or if the sellers’ belongings limit your view, those photos provide an instant alibi, said Kevin Mathers of KGM Home Inspection in Illinois. He notes that even smaller houses create big photo albums, simply due to the furniture and clutter in his way. (Remember: Moving furniture can open yourself to more liability, particularly if you break something.)
“I want to try and get as much information for my client as I can. But I’m not going to spend a half an hour trying to access an area because the house was not properly prepared for inspection, which is almost all the time,” Mathers said. “When my client moves in there one, two, three months later, none of that stuff’s going to be there. Garages are notorious for that. Between vehicles and storage, I take pictures of what I can’t see.”
Macro vs Micro Views
Mathers, who’s also an instructor for American Home Inspector Training (AHIT), encourages all his students to capture macro and micro views of the property. Both perspectives allow him to notice different details than he would otherwise, he says.
“The macro view is going to be from the street or the sidewalk or the property lines. The micro view is your typical up-close-and-personal inspection around the house,” Mathers said. “You’ll see things from a macro view you won’t see up close. Plus, those are nice pictures for my client. They see the whole house from several different angles, along with the property.”
Need a quick guide to our favorite inspection photo best practices? Download our free home inspection photo checklist.
2. Diversify your equipment.
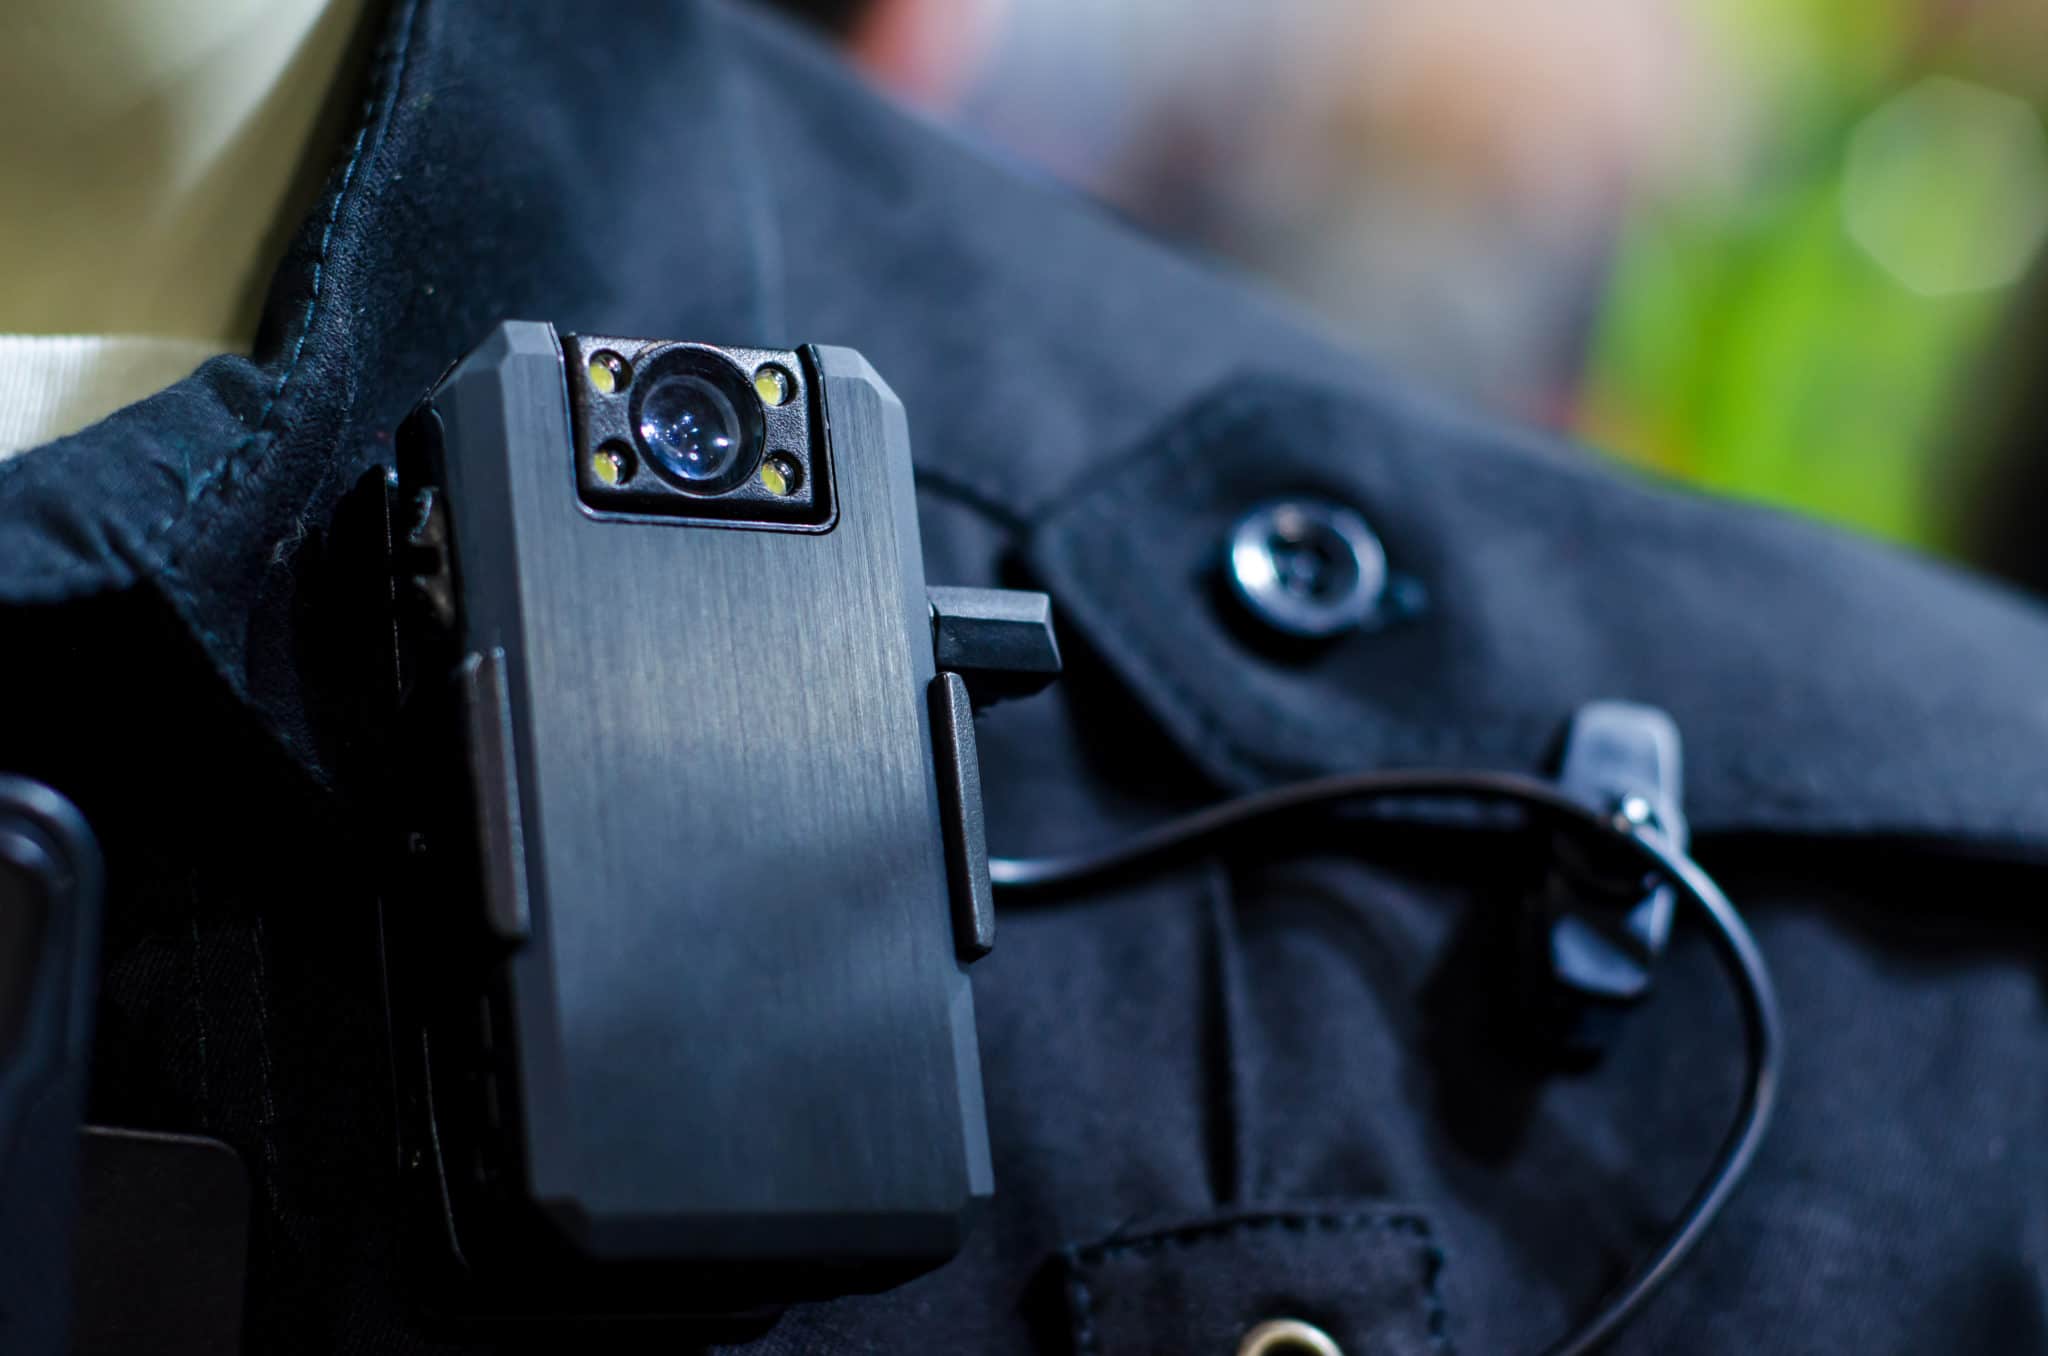
To make your job easier, consider investing in additional equipment like body cameras or 360 cameras. Though they aren’t necessary, many inspectors find them valuable for collecting home inspection photo evidence. This evidence can help dismiss frivolous claims quickly and easily.
“The images from a 360-degree camera add a lot to my report’s overall presentation and protect me against potential complaints. For me, that’s a win-win,” said Brian Derewicz of Realistic Home Inspection Services, Inc. in Wisconsin in our article about 360 cameras. “Should I ever have a customer or homeowner allege something, I have a 360-degree image to substantiate the actual condition of each room I enter. The more I use it, the more it backs me up should anything be questioned.”
3. Save inspection documentation for at least seven years, ideally indefinitely.
You might be thinking: “Won’t all those photos make my report 300 pages long?!”
The answer is no, because you don’t have to include all of them in your report.
If some of these photos feel supplemental, hold onto them for safekeeping in your broader inspection archive. Storing your past photos, videos, reports, and signed pre-inspection agreements means you always have supporting documentation for:
- Customer service inquiries, like if a client asks a question about the inspection three months after.
- Future reference, like as a tool for training your employees.
- State requirements, if your state has a minimum time for storing assets.
- Claims, like in this case study.

According to our survey, 63 percent of inspectors in 2018 were storing their inspection documentation for five years or more. Today, claims experts suggest saving them for a minimum of seven years. Better yet, with cloud storage growing more convenient and common, we encourage inspectors to store their inspection documentation indefinitely.
Read our article for more information about storing assets, plus the other results from this study.
4. Set aside time for quality.
Quality beats quantity every time. But with today’s technology, why can’t we have both?
Photos and videos don’t do you, your clients, or your claims team any good if they’re blurry and rushed. So invest in good photography equipment and give yourself plenty of time to use it.
5. Review your photos while writing your report.
Missing a visible defect because you didn’t photograph it? That would be rough.
But photograph a visible defect, put the photo in your report, and forget to comment on it? That’s bad, too. Just read this inspector’s story to see how inspection body cam footage can work against you, despite your best intentions.
You can easily take hundreds of photos during every inspection. Protect yourself and review them carefully while writing your report. Otherwise, you could miss crucial details—details that come back to bite you, if your client files a claim.
Your photography equipment deserves protection, too.
Photos are an easy and inexpensive way to boost your customer service, train new inspectors, and protect your business from frivolous claims.
And yet, while you’re collecting great home inspection photo evidence, many inspectors forget to cover something essential: the expensive cameras and computers that bring those photos to life.
If you’re insured with us at InspectorPro, ask a broker or team member about equipment coverage. Also known as inland marine coverage, equipment coverage protects your tools at any location. Because expensive cameras are so essential to good inspecting, and they’re easy to drop or break, equipment coverage is a great way to protect your biggest investments.
Learn more about equipment coverage for home inspectors here.